


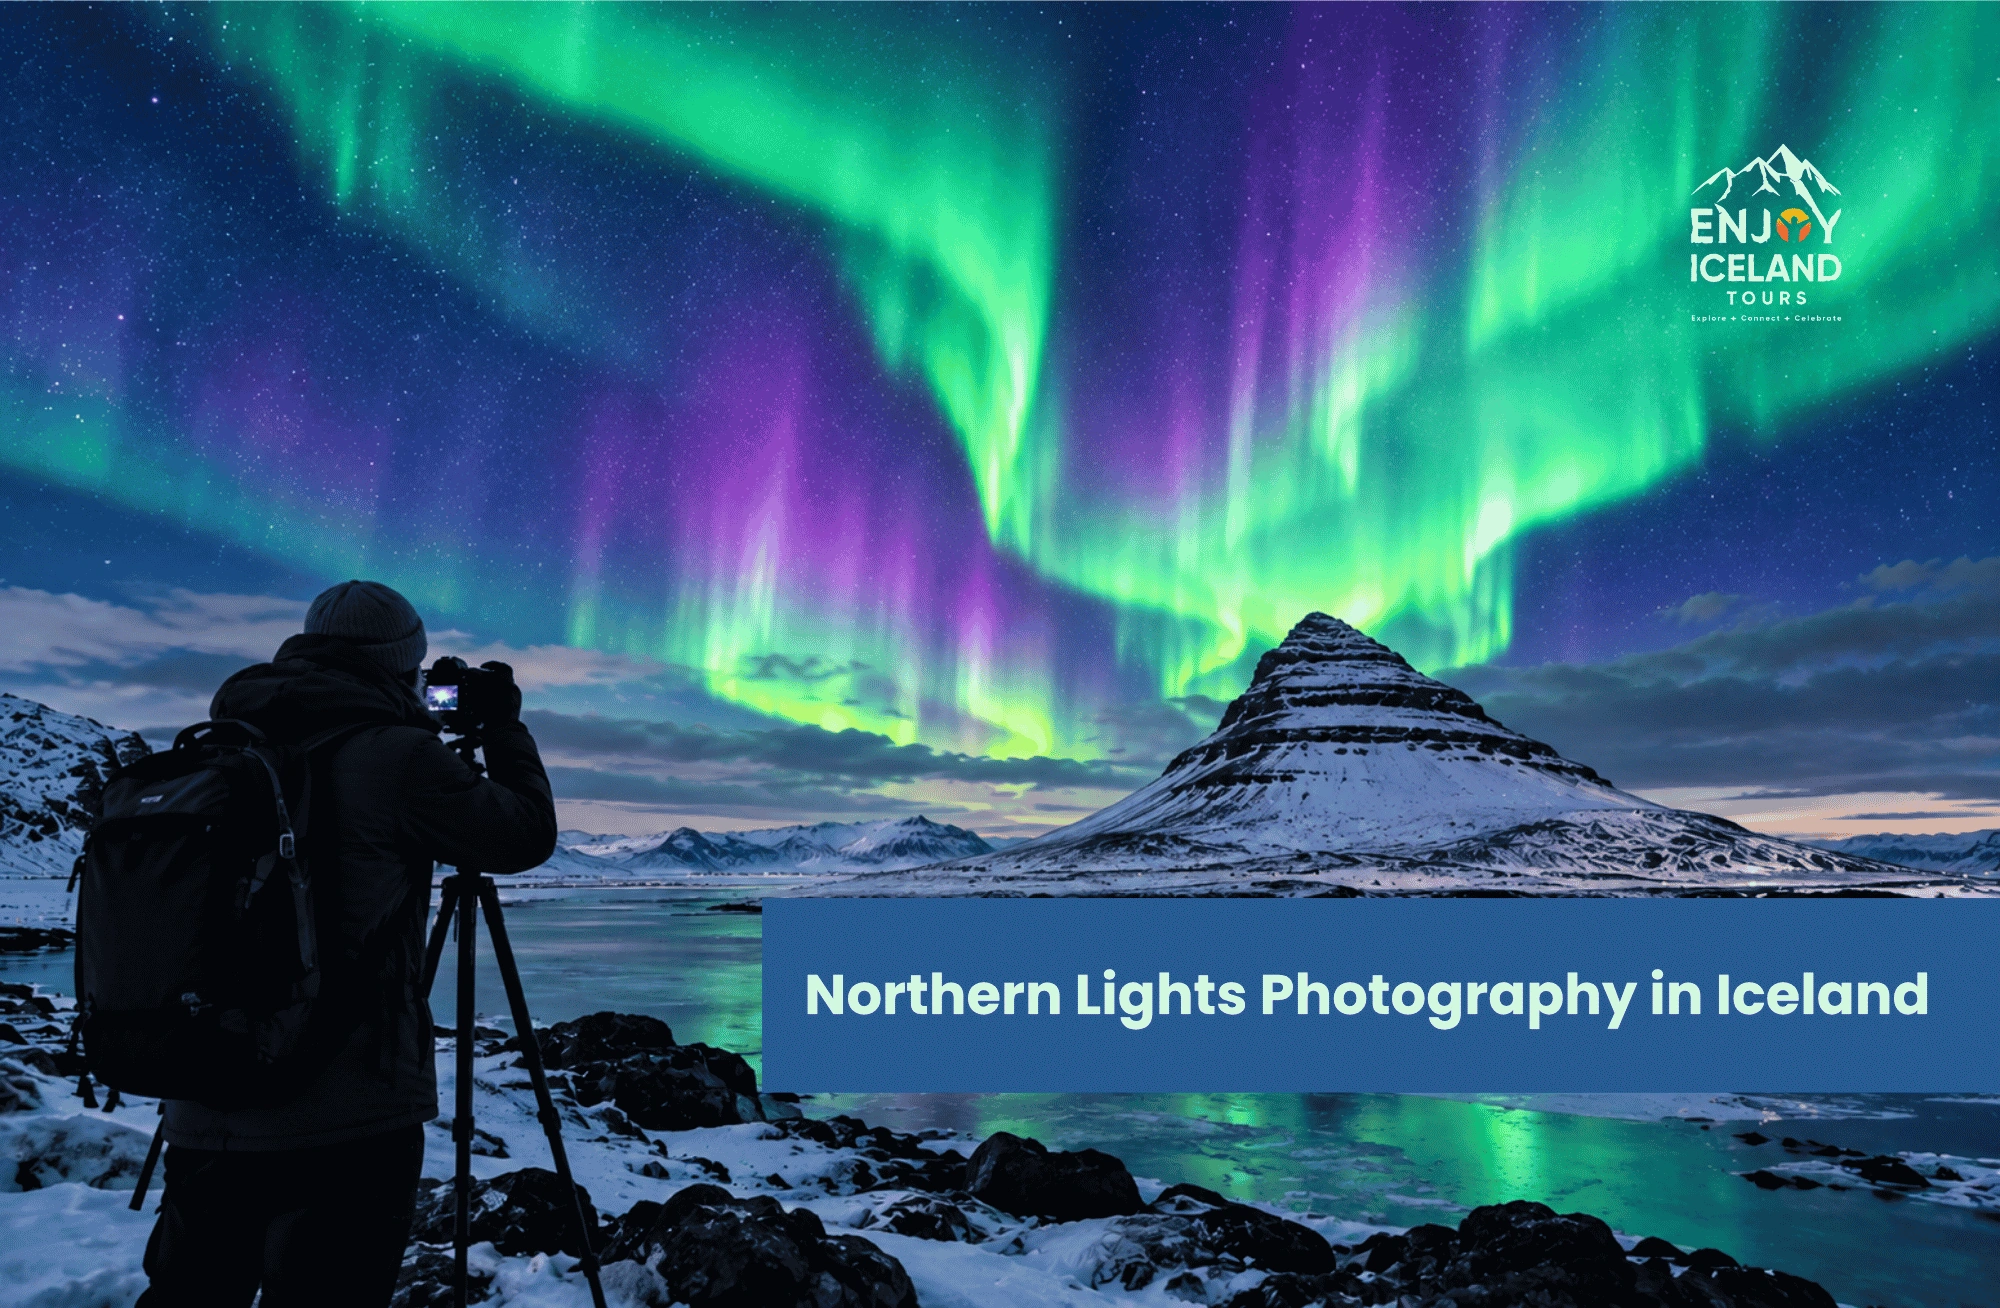
Northern Lights Photography in Iceland: Camera Settings and What Actually Works
Northern Lights Photography in Iceland: Camera Settings and What Actually Works
Photographing the northern lights is one of the most common things travelers want to get right in Iceland, and also one of the easiest to get wrong without knowing why. A camera left on auto mode almost always misreads the scene, and the difference between a usable photo and a black frame usually comes down to a handful of settings that are simple once you understand what each one is doing.
Quick answer: Photographing the northern lights in Iceland works best with a camera capable of manual settings: a wide aperture (f/2.8 or wider if possible), an ISO between 800 and 3200 depending on how bright the display is, and a shutter speed of 5 to 15 seconds. A tripod is not optional, since any handheld shot at these shutter speeds will blur. Recent smartphones with a dedicated night mode can capture a usable image of a strong display, but they still struggle with faint or fast-moving aurora compared to a camera with manual control.
Why the Settings Matter More Than the Gear
A lot of people assume they need an expensive camera to get a decent northern lights photo. That's not really true. What matters more is understanding why each setting exists, because the aurora behaves differently from almost anything else people normally photograph: it's dim, it moves, and it's happening in near total darkness.
A camera set to auto mode will almost always get this wrong. Auto settings are built around daylight or standard low light, not a faint green band moving slowly across a black sky, so the camera either underexposes the shot into blackness or cranks the ISO so high the image turns to noise. Manual mode isn't there to make things harder. It's there because this is one of the few situations where the camera genuinely cannot guess correctly on its own.
Aperture: Let In as Much Light as Possible
Start with the widest aperture your lens allows, ideally f/2.8 or wider. A wider aperture means a larger opening letting light onto the sensor, which matters enormously here since you're working with almost none. If your kit lens only opens to f/4 or f/5.6, you can still get results, you'll just need to compensate with a higher ISO or a longer shutter speed, and the image will generally look a bit noisier or show more motion blur in the aurora itself.
ISO: Balance Brightness Against Noise
ISO controls how sensitive the sensor is to the light that does come in, and it's the setting most people get wrong by either overcorrecting or undercorrecting. Starting around ISO 1600 is a reasonable middle ground for most cameras and most displays. If the aurora is faint, push it higher, up toward 3200, accepting more visible noise in exchange for a visible image at all. If the display is strong and bright, you can often drop back down to 800 and get a cleaner shot.
Every camera handles high ISO differently, and newer sensors handle noise far better than older ones, so it's worth testing your specific camera's limits in a dark setting before your trip rather than guessing on the night.
Shutter Speed: Watch for Motion, Not Just Light
This is where a lot of northern lights photos go wrong even when the exposure looks fine. A shutter speed that's too long, 20 or 30 seconds, will often blur the aurora into a soft, shapeless glow if the display is moving quickly, since the camera is essentially averaging every position the light passed through during that time. A shutter speed between 5 and 15 seconds is generally the sweet spot: long enough to gather light in the dark, short enough to preserve the aurora's actual shape and structure.
If the lights are moving fast and dancing rather than sitting as a slow, steady band, lean toward the shorter end of that range. A slower, calmer display can tolerate a longer exposure without losing definition.
Focus: Manual, Set Once, Don't Touch It Again
Autofocus does not work reliably in near total darkness, and this trips up more people than any other setting on this list. The camera simply has nothing bright enough to lock onto. Switch to manual focus, and focus on a distant light, a star, or anything on the horizon, before it gets fully dark if possible. Some cameras show a small infinity symbol on the lens or focus ring as a rough starting point, but it's worth confirming through the viewfinder or a test shot rather than trusting the marking blindly, since true infinity focus varies slightly between lenses.
Once it's set, leave it alone. Bumping the focus ring by accident between shots is a common way to lose an entire evening's photos without realizing it until you're looking at them the next morning.
A Tripod Is Not Optional
At shutter speeds of 5 seconds or longer, no one can hold a camera steady enough to avoid blur, regardless of experience. A tripod is the one piece of equipment on this list that genuinely has no workaround. If you don't own one, even a lightweight travel tripod is worth bringing over none at all. Bracing the camera against a solid surface, a car roof or a fence post, can work in a pinch, but it's a poor substitute for a proper tripod on uneven ground in the wind.
A remote shutter release or the camera's built-in timer function also helps, since pressing the shutter button by hand can introduce enough shake to soften an otherwise sharp shot at these speeds.
What a Smartphone Can and Can't Do
Recent smartphones with dedicated night modes have gotten genuinely good at this, and for a strong, bright aurora display, a phone braced on a tripod or steady surface can produce a usable, shareable photo. Where phones still fall short is with faint or fast moving aurora, since the software is essentially stacking several shorter exposures together, which handles a slow, bright display well but tends to smear or lose detail on something dimmer or quicker moving. If a phone is your only option, use night mode, prop it against something stable, and keep expectations realistic for anything short of a strong display.
Dressing for a Long, Cold, Motionless Wait
The technical side of northern lights photography is only half the challenge. The other half is standing still outside for an hour or more waiting for something to happen, often on a genuinely cold night. Warm layers, a hat, and proper gloves that still let you operate small camera dials matter more than people expect. Cold hands fumbling with tiny buttons in the dark cost people shots far more often than a wrong setting does.
Why a Private Guide Changes the Odds
Photography settings only matter if you're actually somewhere the aurora is visible and the sky is clear, and that's the part most visitors underestimate. Chasing clear skies away from cloud cover and light pollution is a nightly judgment call, not something you can plan weeks in advance from a fixed itinerary. A private Northern Lights tour gives a guide the flexibility to change plans on the night itself based on where the forecast and cloud cover actually look promising, rather than running a fixed departure regardless of conditions. That flexibility is the single biggest factor in coming home with a usable photo at all, more than any camera setting on this page.
If you're planning a full trip around aurora viewing rather than a single night, it's worth pairing a Northern Lights evening with a daytime Golden Circle tour, so the trip delivers regardless of what the sky does after dark.
Frequently Asked Questions
Do I need an expensive camera to photograph the northern lights?
No. Any camera or recent smartphone with manual controls or a night mode can capture a northern lights photo. What matters more than the price of the equipment is using a wide aperture, the right ISO and shutter speed combination, manual focus, and a stable tripod.
Can I photograph the northern lights with just my phone?
A recent smartphone with night mode can capture a strong, bright aurora display reasonably well when braced on a tripod or steady surface. Faint or fast moving displays are harder for phone software to render clearly compared to a camera with full manual control.
What ISO should I use for northern lights photos?
A starting point around ISO 1600 works for most cameras and most displays. Push higher toward 3200 for a faint aurora, or lower toward 800 if the display is bright, adjusting based on how the preview image looks.
Why do my northern lights photos come out blurry?
The two most common causes are a shutter speed that's too long for a fast moving display, which blurs the aurora's shape, and camera shake from not using a tripod or remote shutter. Autofocus failing in the dark and leaving the shot out of focus entirely is another common cause.
Do I need a tripod to photograph the northern lights?
Yes, effectively. Shutter speeds of 5 seconds or longer are often needed to capture the aurora in the dark, and no one can hold a camera steady enough at that speed to avoid blur. A tripod is the one piece of equipment on this topic with no real workaround.